Installation Information
Application Process
Our application process can be broken down into just 5 steps:

Our first step on any job is preparing the floor surface for the application of our product. This is an incredibly important step, and one we do with the utmost care. Just like in any project, the foundation is key, and we know that.
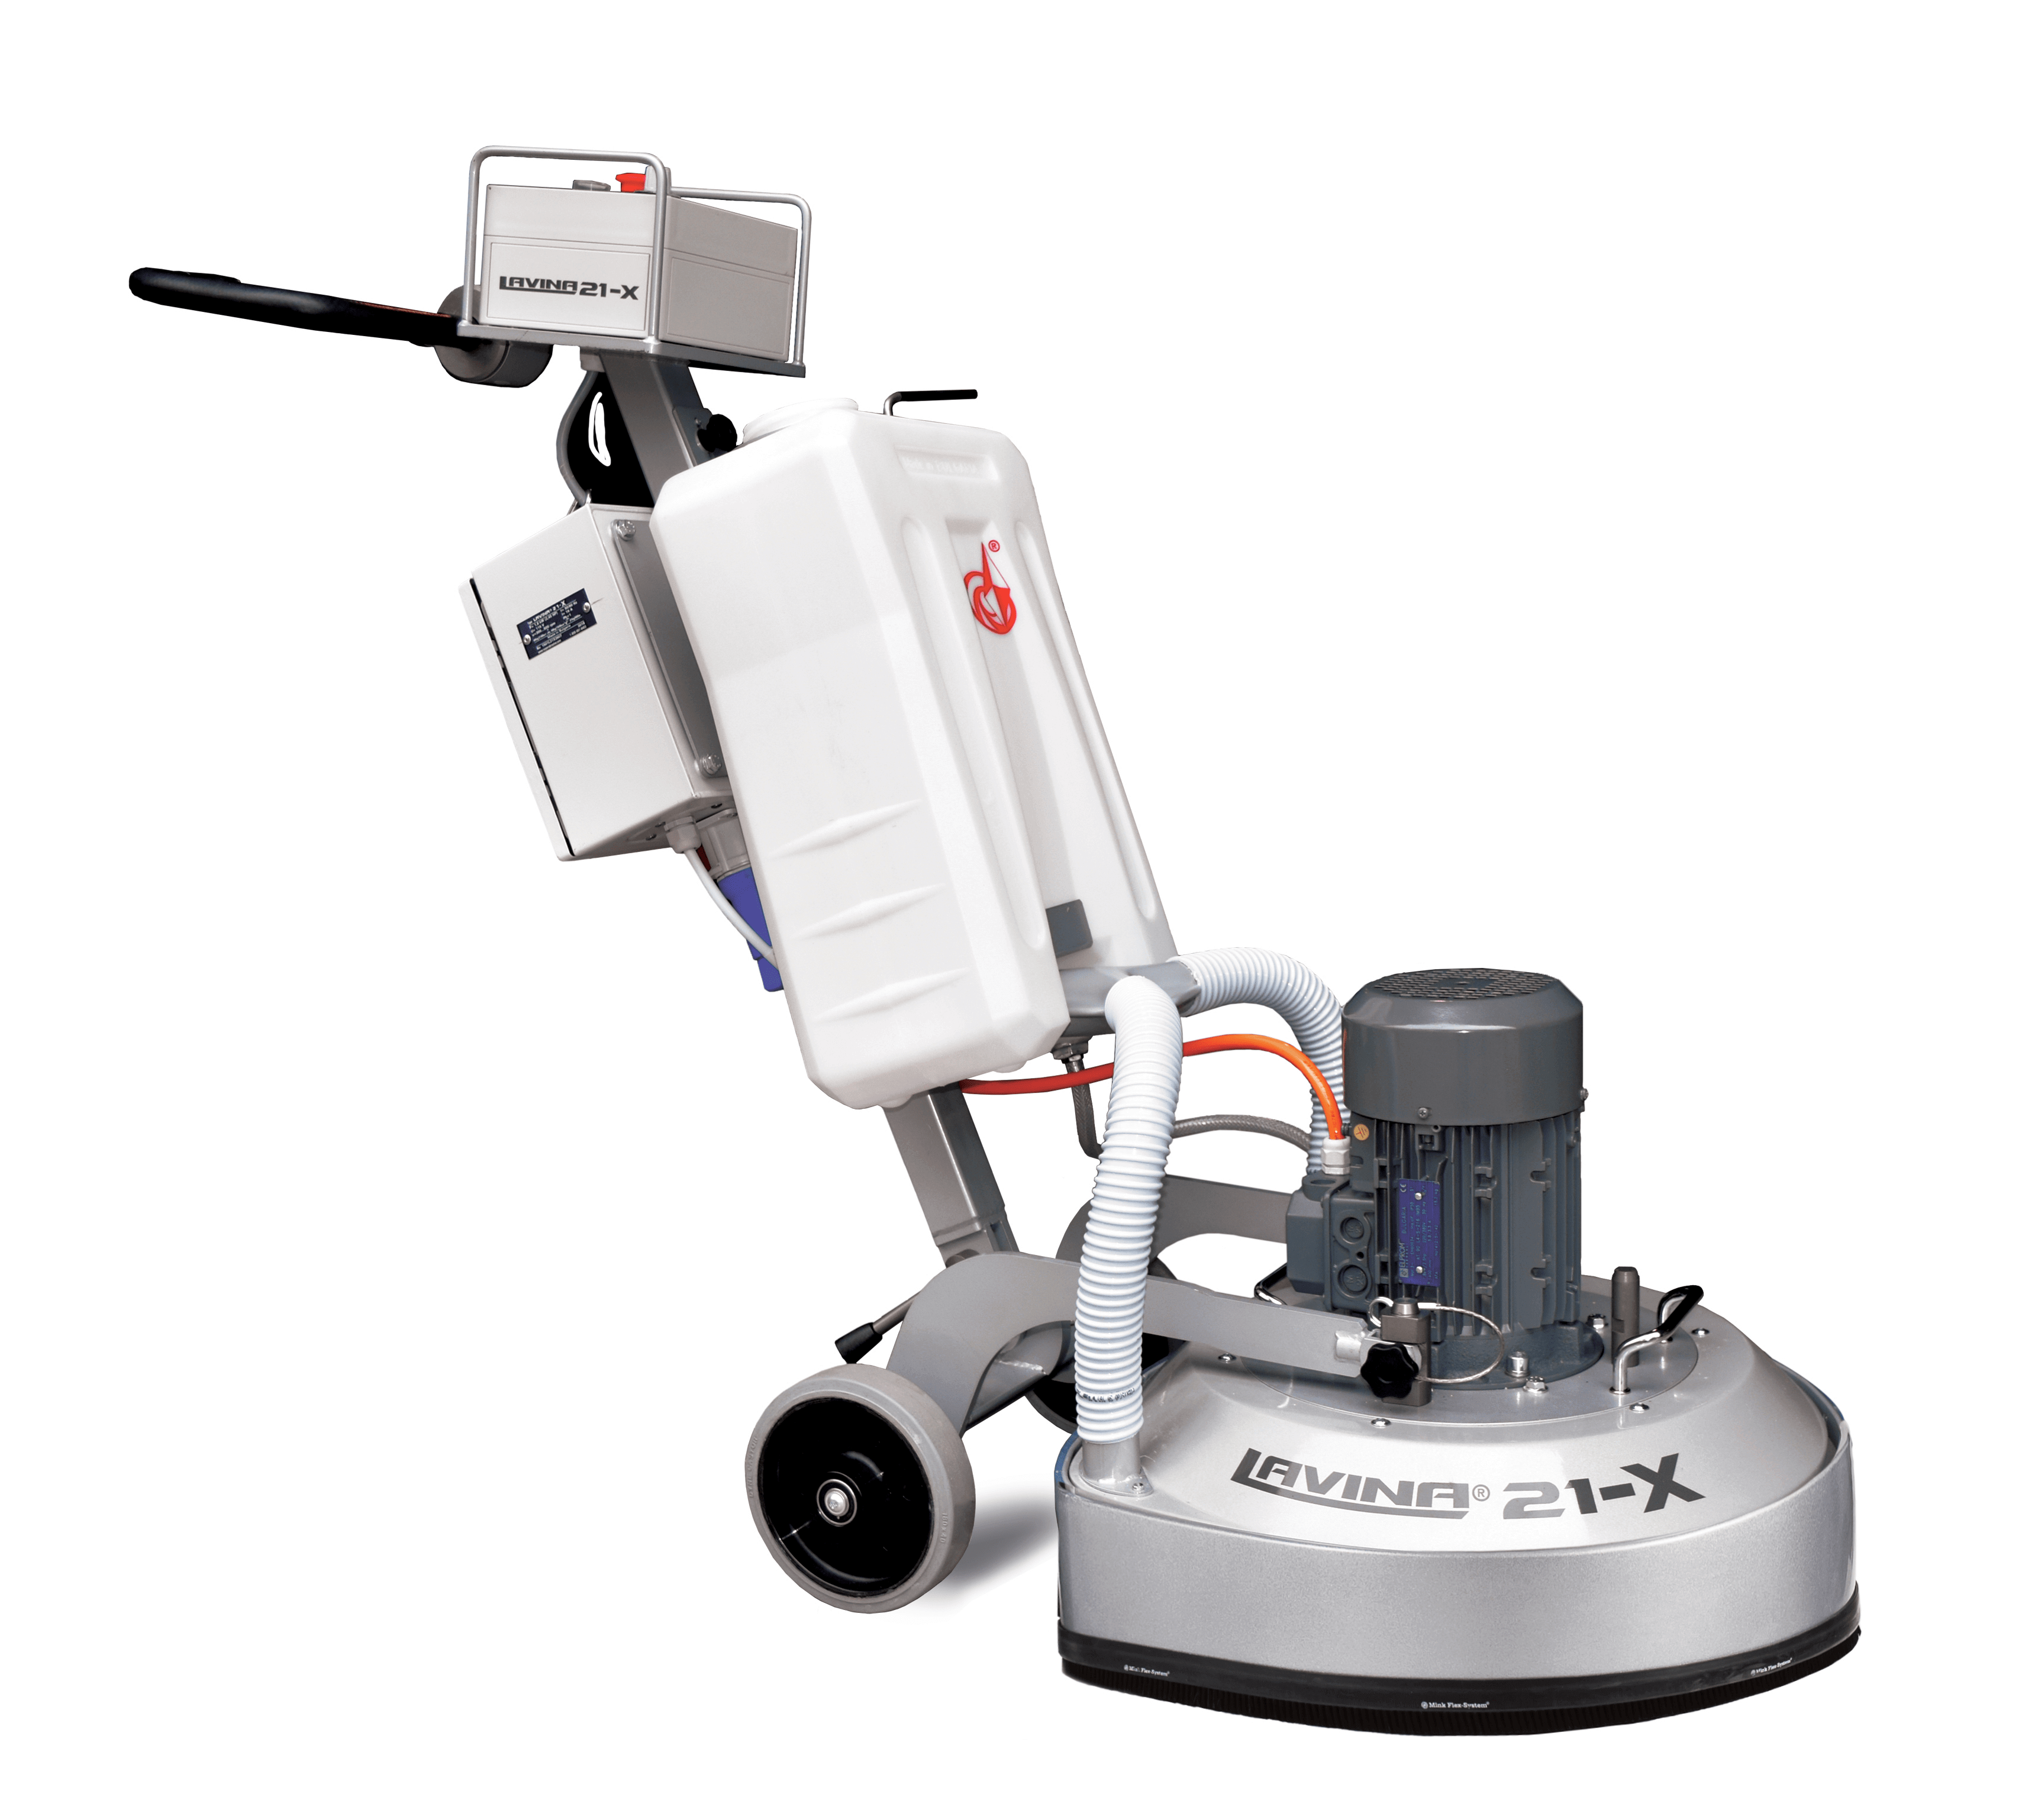
To do this, we use diamond grinders to open the underlying concrete and prepare it to serve as the substrate (underlying layer) for your epoxy floor. We carefully select diamond blades based on the density of your concrete to ensure they are the right match, and we finish off the job by using a hand grinder to carefully level the edges of the floor.
Once we are done, we clean up all the debris leftover on the floor and make sure the area is completely clean.
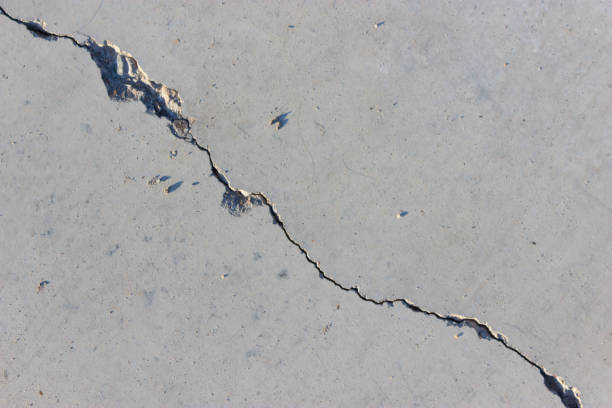
In order for the epoxy to adhere as well as possible, we then carefully take care of any chips or cracks that are in your concrete floor. It is common for concrete floors to have imperfections, especially when they have been in use for a long time. Many people do not realize that concrete is actually very porous (pores constitute around 12% to 18% concrete flooring, even though they are largely invisible) of and it chips and cracks relatively easily.
We take care of all these cracks and chips by applying a fast-drying filler. By the time we are done, we will have made your concrete floor completely smooth and level, with no visible cracks or chips. After again cleaning the floor and removing any debris, the surface is now in perfect condition to apply your new epoxy floor.
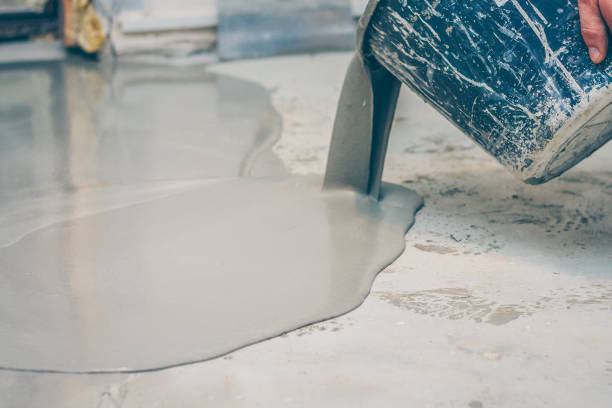
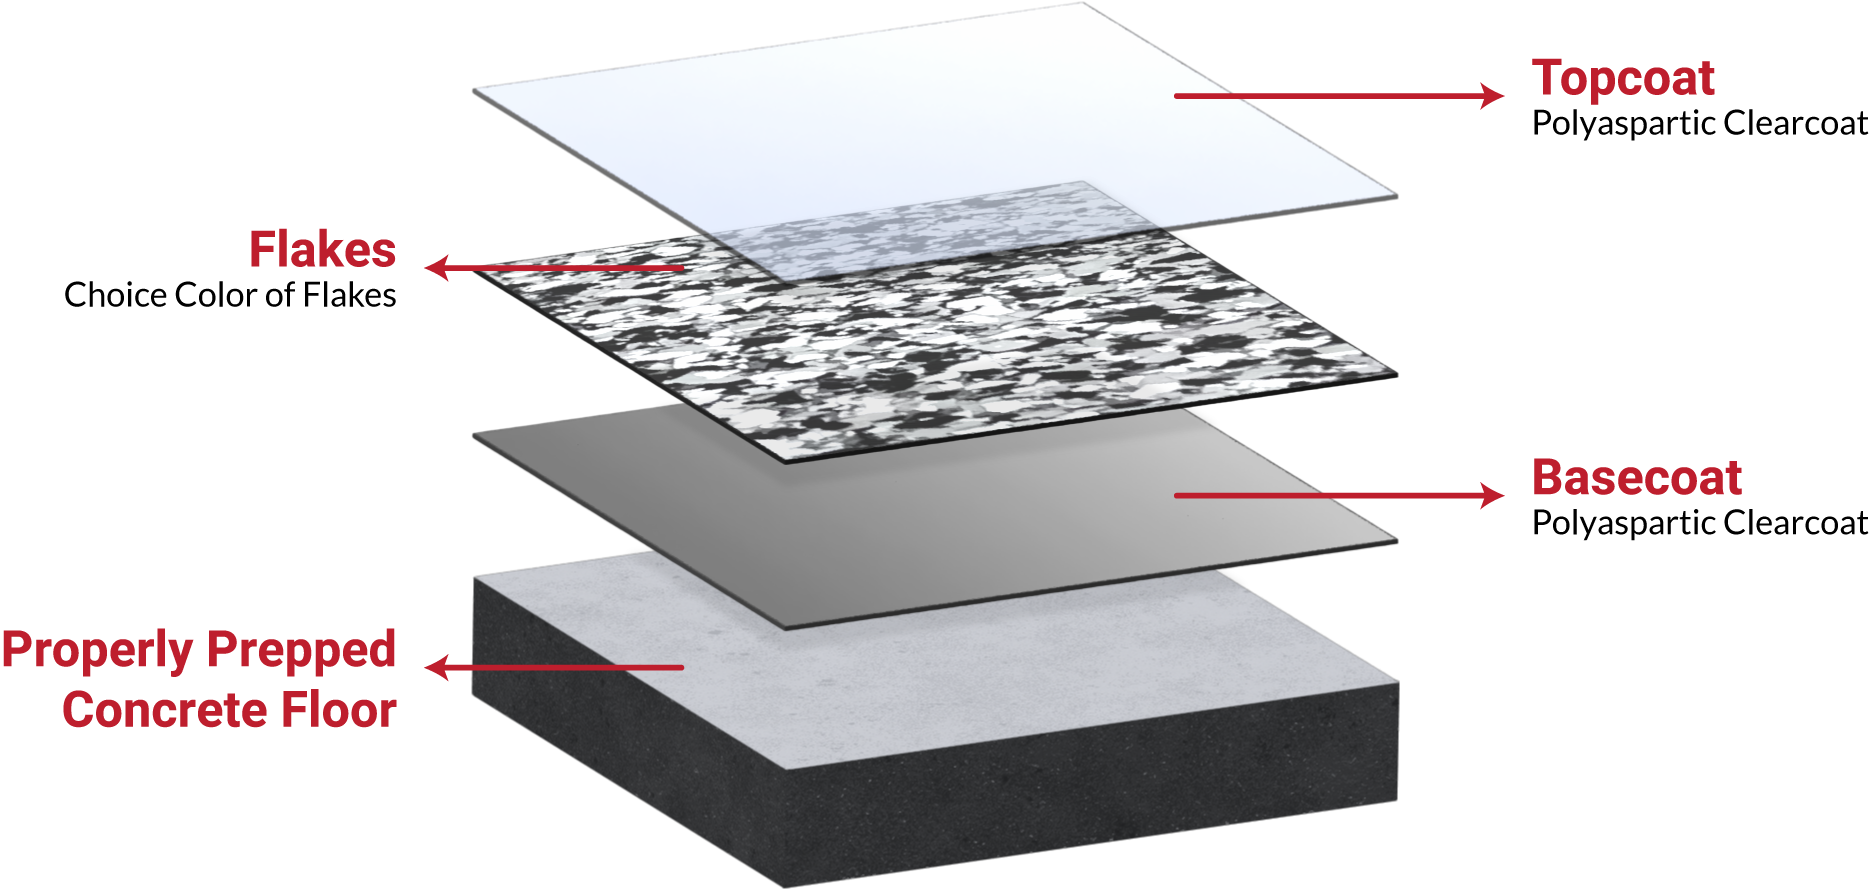
The first step in applying the floor is laying down a pigmented base coat. This polyaspartic base coat comes as a 1 or 2-day system, which we choose based on the size and needs of the floor and project site.
The main difference between these systems is how long it takes for the floor to cure and be ready for use again. With our 1-day system, you can be back on the floor walking the next day, and with the 2-day system you can be walking around again after two days. Regardless of which system is used, the process is incredibly quick, and downtime is minimal.
We then carefully back-roll the epoxy with 18-inch rollers to ensure it is properly and evenly applied across the entire space. Once this is done, we are ready to begin the next step.
Our first step on any job is preparing the floor surface for the application of our product. This is an incredibly important step, and one we do with the utmost care. Just like in any project, the foundation is key, and we know that.
To do this, we use diamond grinders to open the underlying concrete and prepare it to serve as the substrate (underlying layer) for your epoxy floor. We carefully select diamond blades based on the density of your concrete to ensure they are the right match, and we finish off the job by using a hand grinder to carefully level the edges of the floor.
Once we are done, we clean up all the debris leftover on the floor and make sure the area is completely clean.

After the base coat is applied, our crew will return the following day to apply a clear topcoat. This clear topcoat is applied using a squeegee and then carefully back-rolled to ensure a thick, level, and uniform floor.
Once this is complete, we will clean the worksite so that it looks as if we were never there. The only difference will be that you now have a brand-new, beautiful epoxy floor. You will be able to begin using this floor in no time at all:
The polyaspartic topcoat that we apply is clear and abrasion resistant. The result is a durable and low-maintenance surface that is easy to clean and does not require waxing. This makes the floor ideal for high-traffic environments, including residential garages, commercial buildings, and factories. Whether it’s dealing with potential chemical spills, heavy machinery, or just constant day-to-day foot traffic, once installed, our epoxy floors stand the test of time.